Normal Distribution Pictures
Getting a drawing of a normal distribution into Word is not an easy task. Here are three possible ways to do it.
Note that the t-distributions look like normal distributions, so you can use this for t-distributions too.
Screenshot of online picture using Java applet
Use one of the two GeoGebra applets below create your picture, including typing labels for the axes in the boxes provided.
GeoGebra normal distribution picture - one sided allows you to make a picture with one side coloured, and GeoGebra normal distribution picture - two sided allows you to make a picture with two sides or a slice in the middle coloured. Take a screenshot to paste into your Word document.
Edit picture in drawing program
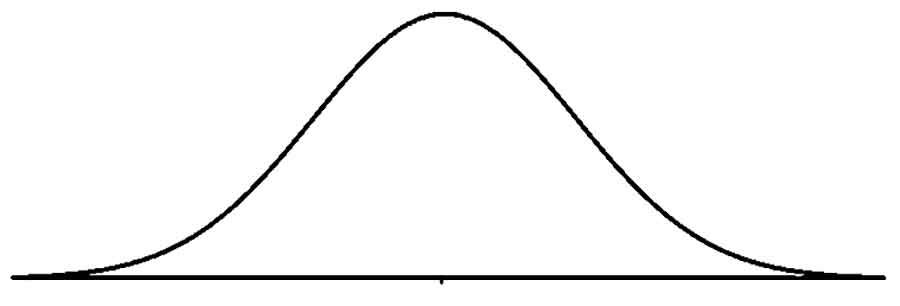
Download the picture of a normal distribution, and open it in a drawing program, such as Paint.
Draw vertical lines to create regions to colour in, and then fill the regions you want with colour.
After this, insert the picture into Word and create text boxes to label the axes. You can also download the normal distibution example with pictures already prepared.
Make from picture of normal distribution and Word rectangles
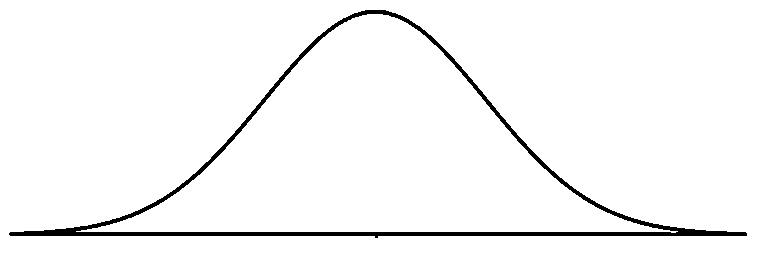
Download the normal distribution - with hole picture of a normal distribution, and insert it into your Word document. Use the Word drawing tools to create coloured rectangles to represent your probability, making sure they cover the lines of the normal distribution. Now click on each rectangle and select "send to back" from the Format tools. This will cover the edges of the rectangles with white, but the colour will show through the transparent region in the middle of the picture. Now insert text boxes to label your axes.
You can also download the normal distribution with rectangles example with the pictures already prepared.